Businesses may effectively manage their client interactions with the help of Zoho CRM, a sophisticated tool. Setting up Zoho CRM may seem challenging at first. But with the right guidance, it can be quick and simple. Whether you’re a small business or a growing enterprise, Zoho CRM can streamline your sales process, improve customer communication, and enhance productivity.
Step 1: Sign Up for Zoho CRM
The first step to setting up Zoho CRM is signing up. Visit the Zoho CRM Consulting Services and create an account using your email address. Zoho offers a free version, but you can also explore their paid plans depending on your business needs. Once you have your account, you’ll be directed to the Zoho CRM dashboard.

Step 2: Customize Your CRM Dashboard
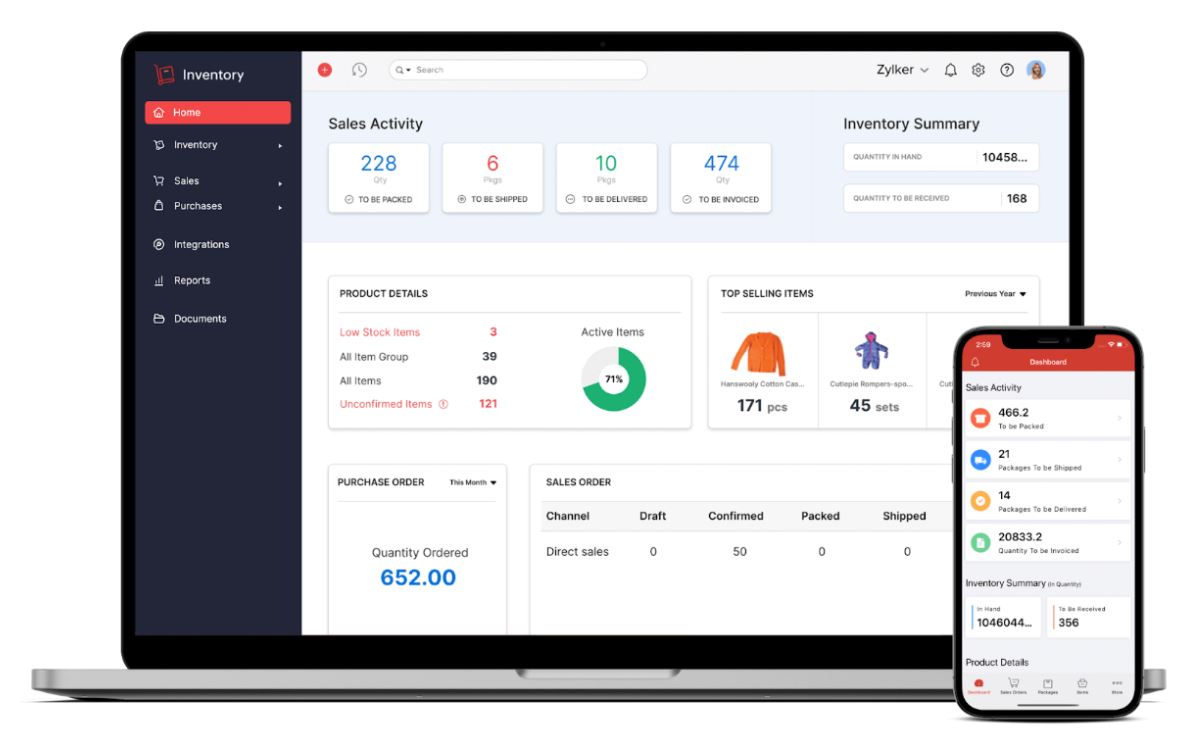
The Zoho CRM dashboard is your central hub for managing customer data. To get started, customize your dashboard to match your business needs. Click on “Setup” at the top-right corner of the screen and select “Customization.” You can now add, remove, or rearrange widgets, including sales funnels, leads, and opportunities. This way, you have quick access to the most important metrics for your business.
Step 3: Import Your Existing Data
If you’re switching to Zoho CRM from another CRM or system, you’ll need to import your existing data. Zoho CRM makes this easy. Go to the “Setup” section and click “Data Administration,” followed by “Import.” From here, you can upload CSV files of your leads, contacts, accounts, and other records.
During the import process, Zoho CRM will guide you through mapping your data fields. This ensures that your data fits into the right categories and is easily accessible. If you need help with this, talk to a reputable Zoho CRM Consulting Partner for professional assistance.
Step 4: Configure Email Integration
Zoho CRM’s email integration feature allows you to manage all your customer communications in one place. To set this up, go to the “Email” section in Zoho CRM and choose your email provider (such as Gmail, Outlook, etc.). Follow the instructions to sync your email with Zoho CRM.
Once integrated, you can send and receive emails directly from Zoho CRM. This feature helps you maintain seamless communication with your customers and keeps all interactions organized.
Step 5: Set Up User Roles and Permissions
If you’re working with a team, it’s essential to set up user roles and permissions. In Zoho CRM, go to “Setup,” click on “Users and Control,” and select “Roles.” You can assign specific roles to your team members, such as sales reps, managers, or administrators.
Each role has different permissions, and you can control who has access to specific data, reports, and features. This way, you maintain security and ensure that sensitive information is only accessible to authorized users.
Step 6: Automate Your Workflows
One of the key benefits of Zoho CRM is its workflow automation. With this feature, you can automate repetitive tasks, such as sending follow-up emails, assigning leads, or updating records. To set up workflows, go to “Automation” in the Zoho CRM setup menu.
Click on “Workflows” and choose a trigger, such as when a new lead is added or when a deal is closed. You can then create a workflow rule that automatically performs an action. Automation saves you time and ensures that important tasks are never forgotten.
Step 7: Create Custom Reports and Dashboards
Zoho CRM’s reporting tools allow you to track key metrics and performance indicators. To create custom reports, go to the “Reports” section of the dashboard. You can choose from a variety of pre-built report templates or create your own.
Custom reports help you monitor your sales pipeline, track team performance, and analyze customer behavior. You can also create dashboards to display these reports visually, giving you a quick overview of your business’s health at any time.
Step 8: Integrate Zoho CRM with Other Zoho Apps
Zoho offers a suite of business apps that integrate seamlessly with Zoho CRM. For example, you can integrate Zoho books for accounting, Zoho projects for project management, and Zoho campaigns for email marketing. Go to “Marketplace” in Zoho CRM to explore available integrations.
These integrations help streamline different aspects of your business, from finance to marketing, and ensure that all your tools work together smoothly. If you’re unsure which apps to integrate, a Zoho CRM Consulting Services provider can offer guidance based on your specific business needs.
Step 9: Enable Mobile Access
Zoho CRM offers a mobile app that allows you to access your CRM on the go. Download the app from the App Store or Google Play, and log in with your Zoho CRM credentials. The mobile app gives you real-time access to your leads, contacts, and deals, ensuring that you can manage your business from anywhere. You can also receive push notifications for important updates.
Step 10: Train Your Team
Once Zoho CRM is set up, it’s important to train your team on how to use it effectively. Hosting training sessions to familiarize them with the dashboard, modules, and workflows. Encourage them to explore features like email integration, reporting, and automation.
Zoho CRM offers a user-friendly interface, but investing time in training ensures that your team uses the platform to its full potential. You can also take advantage of Zoho’s extensive library of tutorials and webinars for ongoing learning.
Conclusion
Setting up Zoho CRM doesn’t have to be complicated. By following these simple steps, you can configure your CRM, import your data, and start managing your customer relationships more effectively. With the right setup, Zoho CRM can become a powerful tool that helps your business grow and succeed.


